Are you completely in the dark when it comes to art? Or maybe you know a bit, but have no confidence to pursue it as a hobby? Do you want to try your hand at something creative, but don’t know where to start? Have you been scared off by other people’s talents and believe you have none of your own? Maybe you were scorned for a creative attempt many years ago and resolved never to try it again.
If any of this sounds familiar, read on…
As we talked about in Art for Everyone, getting creative can be helpful to everyone, no matter your skill-level or experience – but it can be daunting to know how to go about starting something new as an adult, so I’ve compiled four dead-easy arty activities that anyone can do. You can dip into them whenever you have a spare few minutes, adapt them to suit your needs and discard the ones which don’t work for you. The goal is to gain confidence with creativity, so we’re starting small, with minimal fuss and no commitment required. You don’t need to rush out and buy specific tools; these are all do-able with basic household items (although if you enjoy using colours, you may want to round up a cheap set of pens, paints or pastels). We won’t be too concerned with the outcome for now either, so try not to be disheartened if the results don’t look the way you might’ve hoped. What’s far more valuable at this stage is the experience of trying different techniques and making them your own.
Here goes…
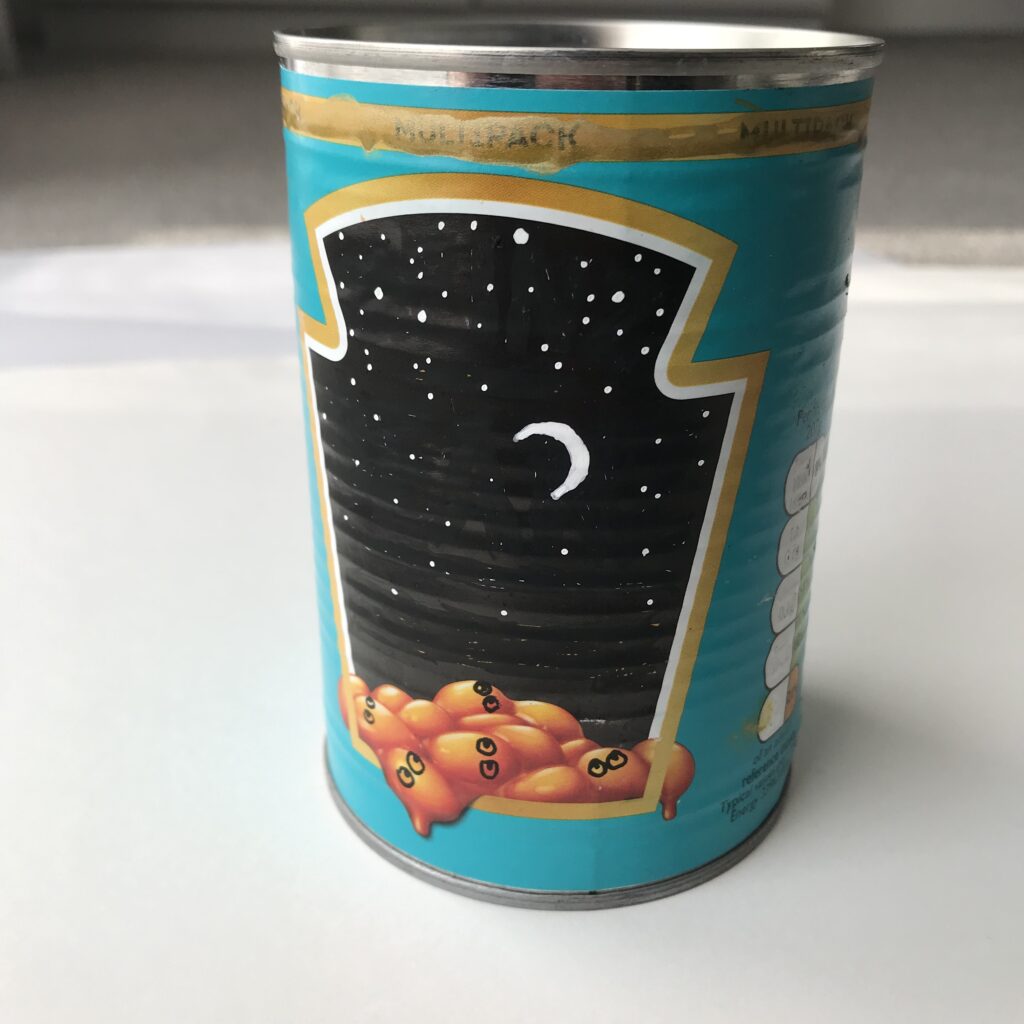
Packet Doodles
Simple, silly and immensely good fun; if you enjoy subverting the Capitalist agenda and giving the ad-man a two-finger salute with his own designs, this one’s for you.
Materials required: old packaging, ballpoint pen, any other drawing tools
1. Go to your recycling bin and pull out the least soiled bits of packaging – preferably something with text and images.
2. Start doodling. Don’t get too precious about what you’re drawing, just make some marks, then make some different marks and see where it takes you. You can scribble out parts, colour in or doodle patterns. It might end up looking shit but then you can just pop it right back where it came from and you haven’t lost anything.
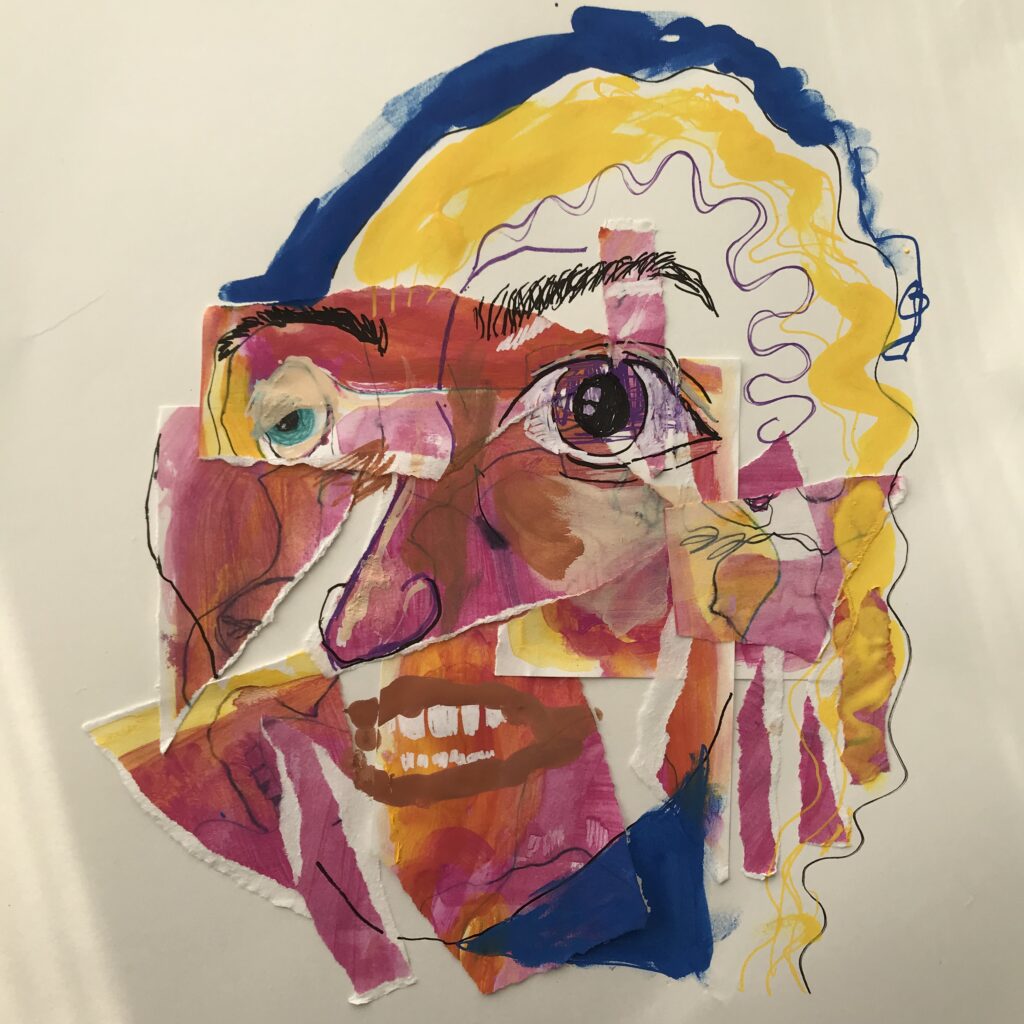
Ripped-Up Drawing
This is great if you’re tempted to get too attached to things, or if you find it intimidating drawing on a blank white sheet, or if you’re just inexplicably angry and yearn for destruction. To make this even easier, skip step 1 and use an existing image (from a magazine or old book).
Materials required: Paper (2 sheets), an object or person to draw (don’t think too hard about it – any old thing or face will do), anything to draw with (Ikea pencil, ballpoint pen, bloody stump etc), glue stick, hands.
1. Place your object (or person) in front of you and spend 10 minutes (no more!) drawing it as completely as you can. Use a variety of marks (heavy, broad, soft, squiggly etc) but don’t worry about getting it perfectly accurate.
2. Tear the drawing into a few pieces.
3. Arrange the torn pieces into a new configuration on a fresh page, then stick them down.
4. Work into this with your drawing/painting tools. You can either continue the lines of the original image and join them up somehow to produce something completely bizarre or treat the torn pieces as a decorative surface and draw the object again over the top. You might find it’s more fun to use a different drawing tool the second time round or combine several.
5. Repeat the steps and try different methods until you like it.
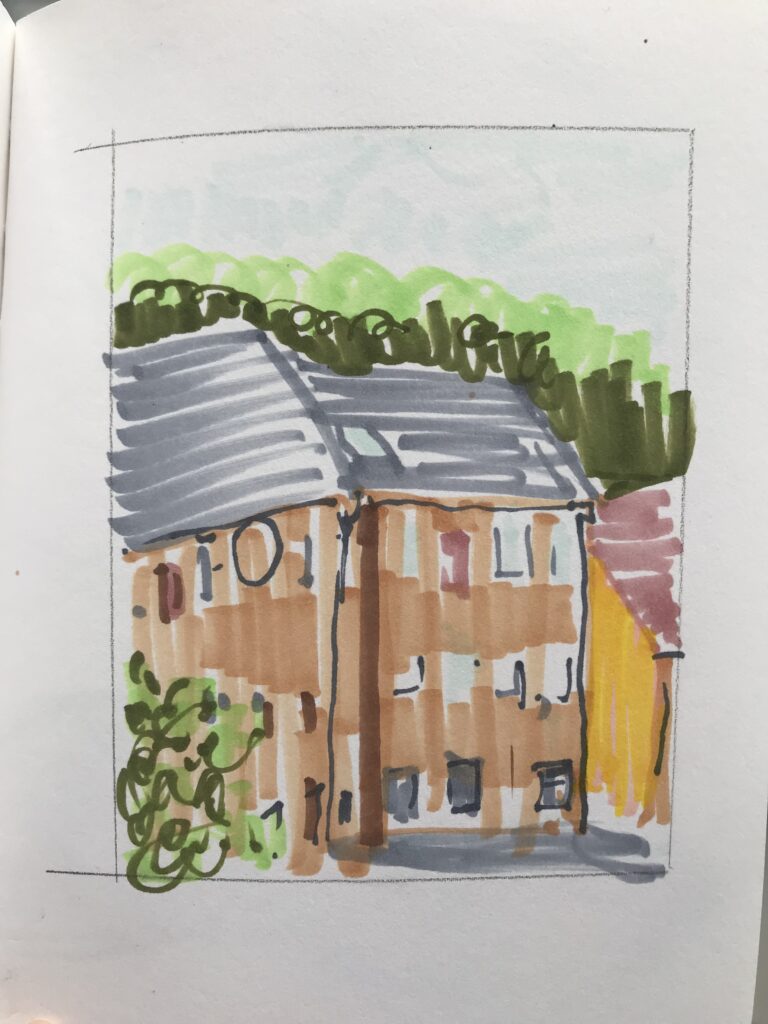
View from Window
You can repeat this exercise as many times as you want and every sketch will be a bit different. It’s great for both loosening up your drawings and for realising how many details you miss in the course of a normal day; the more you draw familiar scenes, the more you’ll start to notice and appreciate.
Materials required: pencil or pens, ruler, paper or sketchbook page, window, timer
1. Set yourself and your drawing materials up in front of a window with some kind of view (doesn’t have to be very exciting). Draw a basic rectangle on you page with a ruler which very roughly corresponds to the dimensions of your window. This will contain everything you can see through the window.
2. Spend a minute looking out of the window and taking a mental note of the shapes, colours and textures of everything. This will help inform the kinds of marks you’ll need to make.
3. Set your timer for 5 minutes and start sketching. You’ll have to move quickly if you want to fill up the space in the time, so don’t try to get everything exactly right because you won’t – just lay down quick marks. Trees or bushes can be captured with lots of quick circular marks; rooftops with a few angular lines etc. In this activity, energy is more important than accuracy.
4. Stop the timer and see what you’ve made. It’ll probably look very rushed and scribbly which is perfect. Don’t be tempted to tweak it and make it ‘better’ as you’ll invariably be killing whatever you’ve managed to capture.
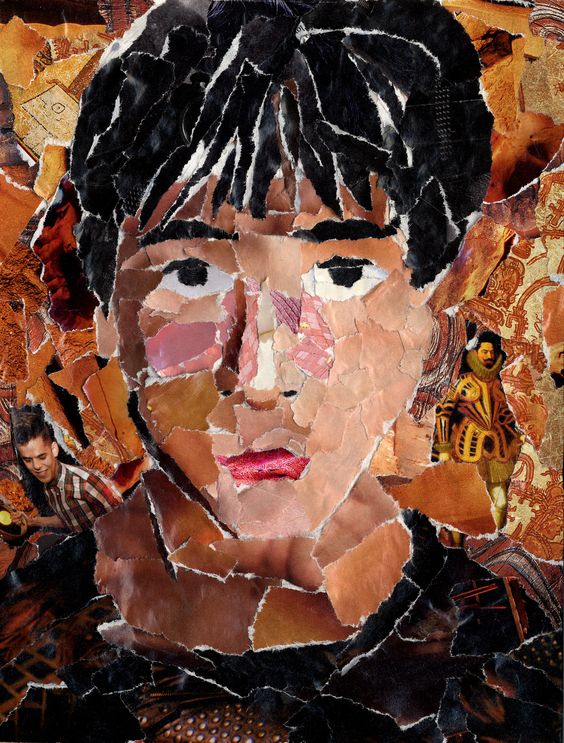
Collage self-portrait
This one is ever-so-slightly more challenging than the other activities, but I still think it works for all abilities. It just requires a tad more concentration and dexterity and a whole load of zero-f*cks-to-give attitude. For a beginner, it will work best on paper which is size A3 or larger (roughly twice the length of your forearm, if you’re not especially large or small).
Materials required: Recycling fodder (magazines, flyers, packets), mirror, paper to work onto, scissors, glue stick, hands
1. Set yourself up in front of a mirror, with table space to work on.
2. Look through the papers and pick out some colours that match your skin tones, clothes, hair and background. (It might help to squint to see the areas of colour and tone more clearly). Set the scraps aside in different coloured piles.
3. Working onto a sheet of paper, start to build up the basic areas of colour with larger scraps, sticking them down until there are no more areas of white on the page. It’s ok to be a bit slap-dash here – the goal is just to cover the page in some base colours that roughly correspond to the composition in the mirror.
4. Next, start to lay down some details with smaller pieces, like areas of shadow under the nose, chin and eye sockets (it may well look a bit terrifying at this point)
5. Continue to use even smaller pieces to build up finer details like the nostrils, pupils and eyebrows. It’s probably going to get a bit fiddly but bear with it. You can also remove parts (or just use a lighter shade) to add areas of highlight, maybe on the forehead, nose or lips. The important thing is to keep referring to what’s in the mirror and try to see it as an abstract landscape of tones, colours and shapes, instead of just your face.
6. Stop when you can’t stand to look at your own face anymore.
There we are. Four super-simple, art activities to do as an adult beginner. If you manage to try any, I hope you find them enjoyable! Above all, I hope they give you a bit more confidence to try new things and to play more. And to be slightly less afraid of failing.
Let me know in a comment if there’s anything you particularly liked or anything which didn’t really work, or if you have some other ideas to add into the mix.
Much love.